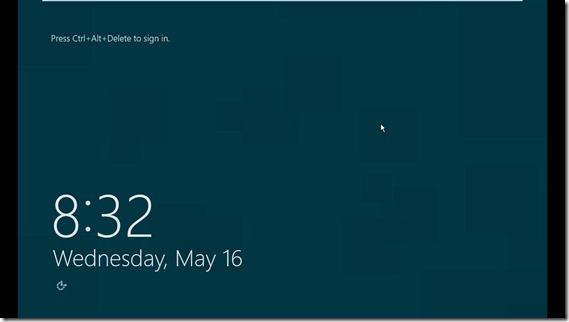
- Start by hitting Ctrl+Alt+Del to sign in to the server.
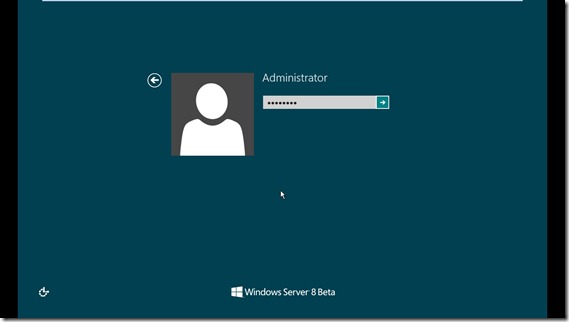
- Type the Administrator password and hit Enter.
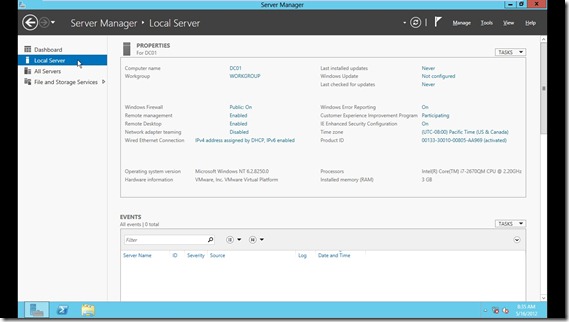
- The Server Manager window opens, click on Local Server.
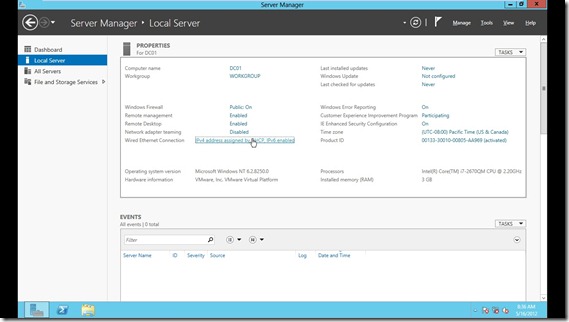
- Click on IPv4 to put a manual IP for your Ethernet card.
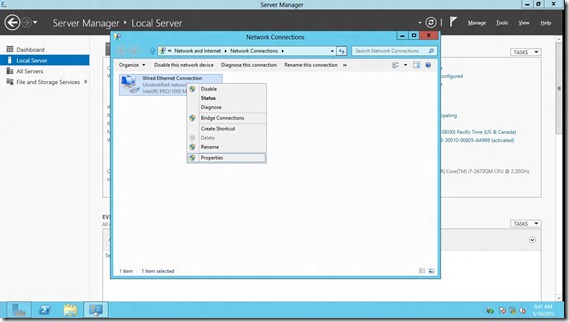
- The Network Connections window opens, Right Click on the Wired Ethernet Connection and click Properties.
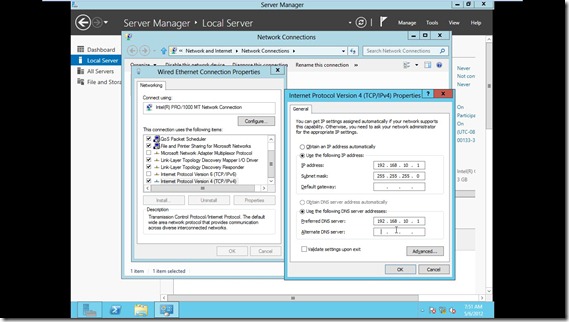
- Double Click on Internet Protocol Version 4, and type the desired IP Address. (I unchecked IPv6 because I am not going to use it)
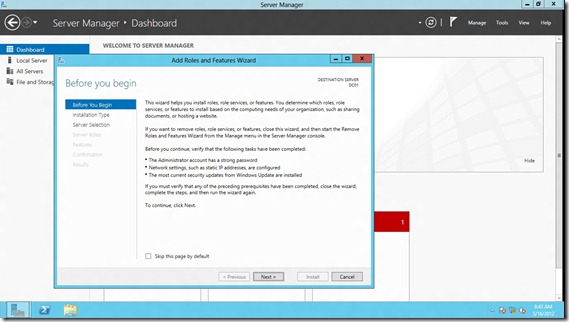
- Go back to Dashboard and click Add Roles And Features, a wizard will open , click Next.
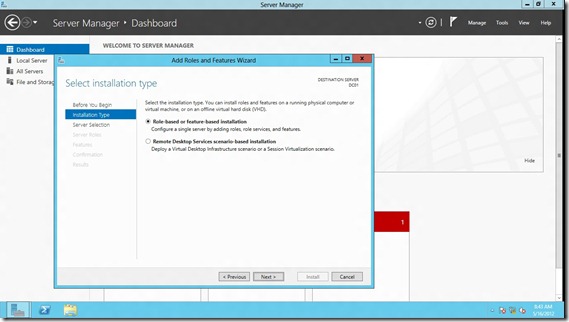
- Select Role-based or Feature-based Installation and click Next.
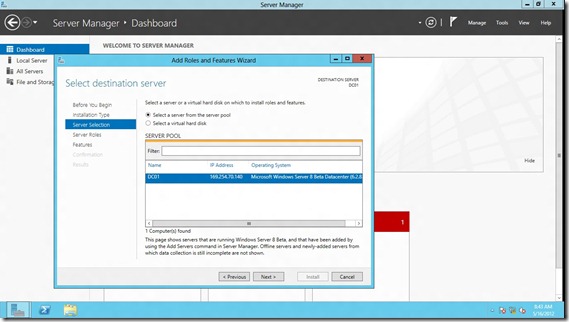
- Select the server from the server pool where you want to deploy AD DS, DC01 in my example.
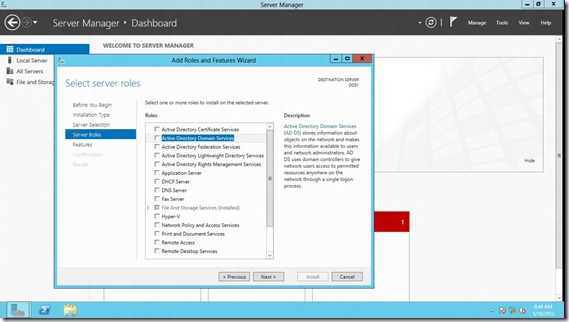
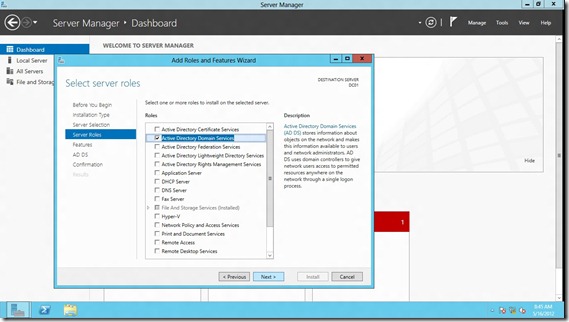
- Check Active Directory Domain Services checkbox.
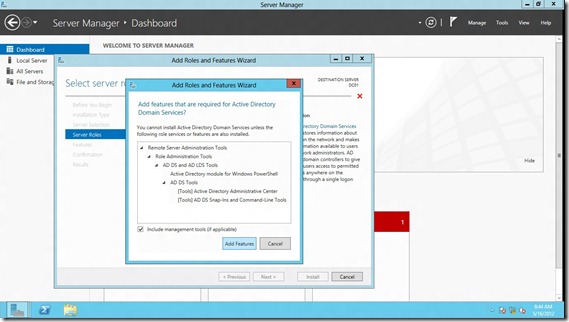
- The wizard will add the required features for you, click Add Features.
- Then click Next.
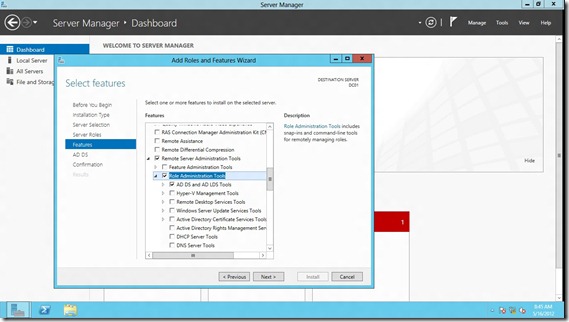
- In the Features step you can see the features that were added automatically.
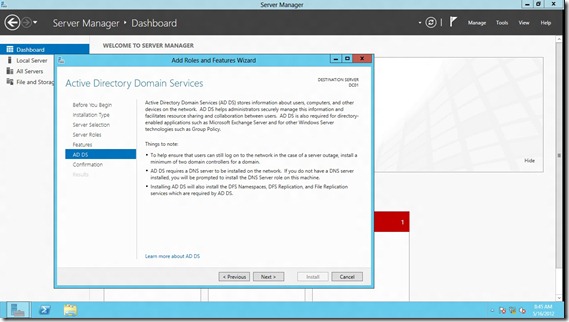
- An intro to AD DS.
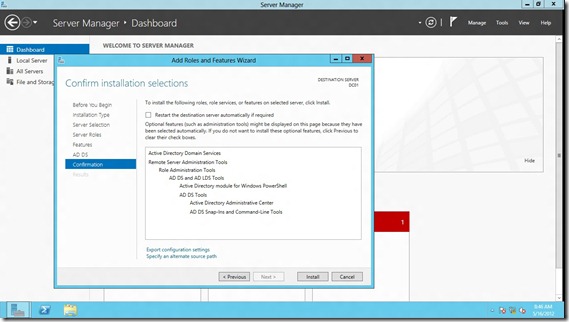
- Review the things that will be installed and click Install.
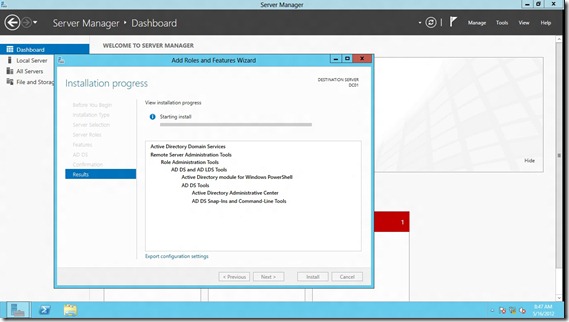
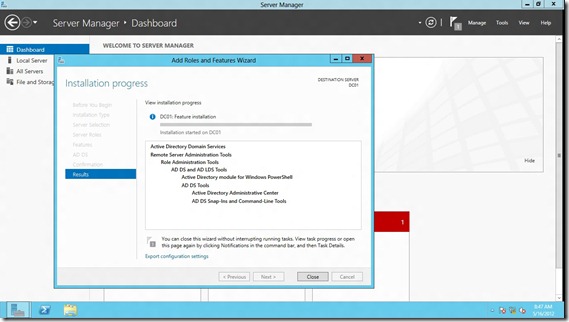
- The installation starts.
- Installing the required features.
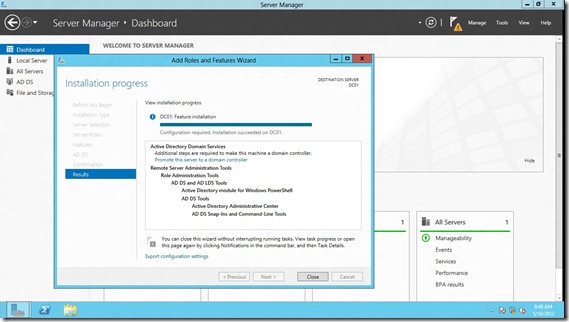
- Installation succeeded, Click promote this server to a domain controller.
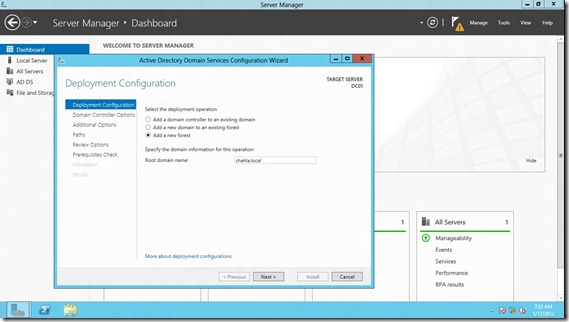
- The AD DS configuration wizard will open, select Add a new forest , then type the root domain name (chahla.local in my example) then click Next.
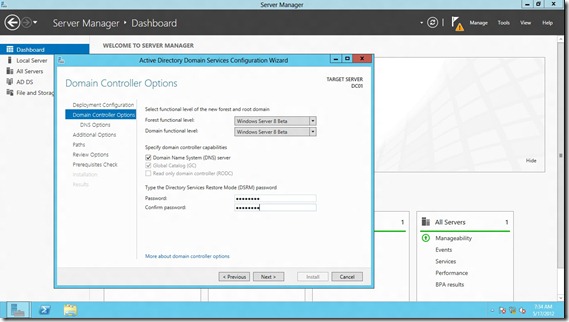
- Select the Forest Functional Level and the Domain Functional Level and type the DSRM password and click Next.
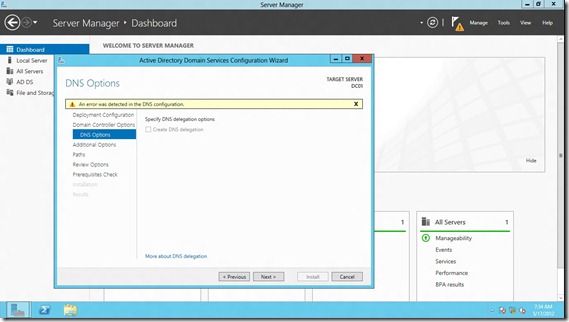
- In the DNS Options step you will notice An error was detected in the DNS configuration, but don’t worry as this error is because that we don’t have DNS currently and the wizard will install it automatically for us, click Next.
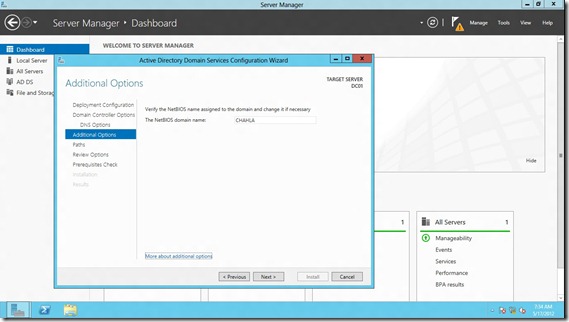
- Keep the NetBIOS name as it is and click Next.
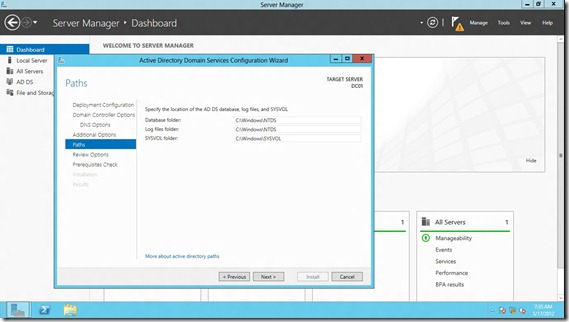
- Set the Database, Log , SYSVOL paths and hit Next.
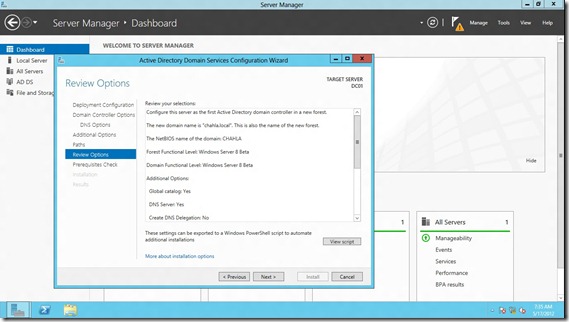
- Review what you want to do, note that you can view the script of all the things that will be done, click Next.
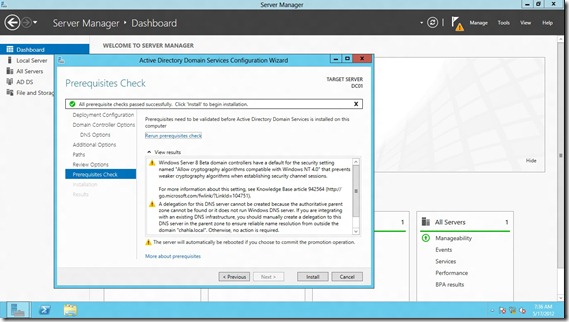
- All prerequisites check passed successfully, click Install to begin the installation.
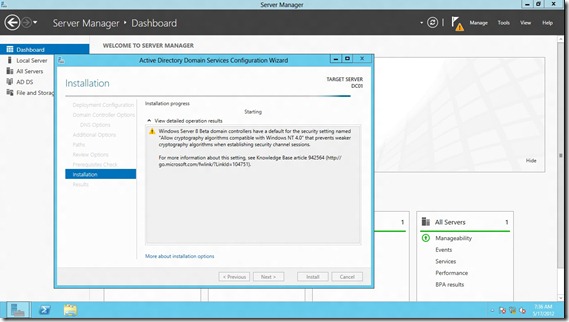
- The installation will start.
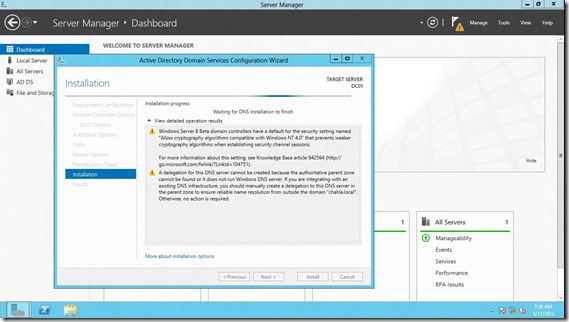
- Installing the DNS.
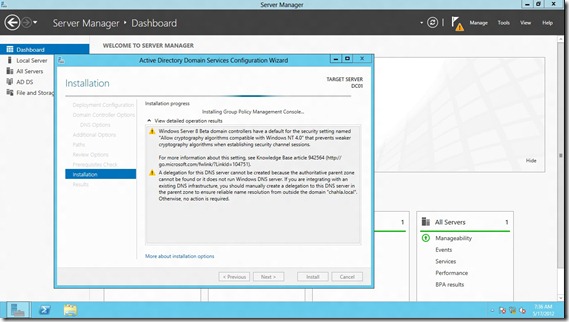
- Installing Group Policy Management Console.
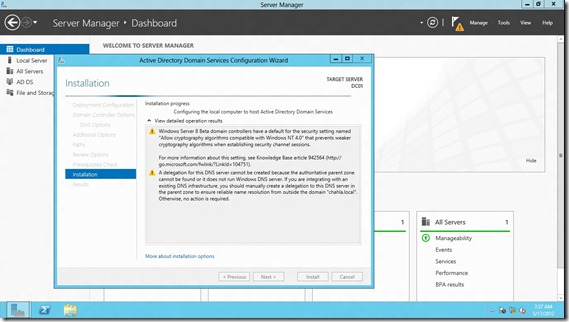
- Configuring the local computer to host AD DS.
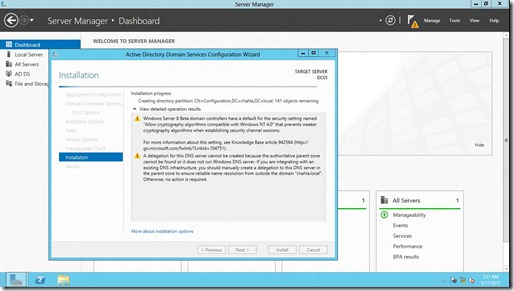
- Creating the Active Directory required partitions.
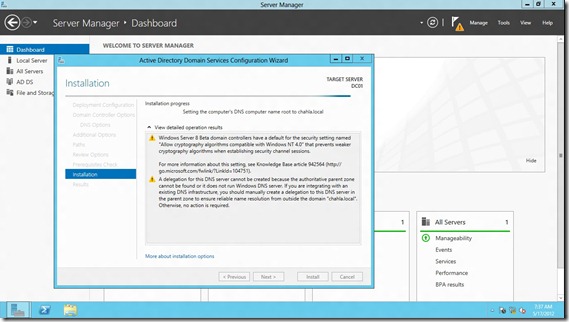
- Setting the computer’s DNS computer name root to chahla.local (the wizard will install and configure the DNS automatically as I told you before).
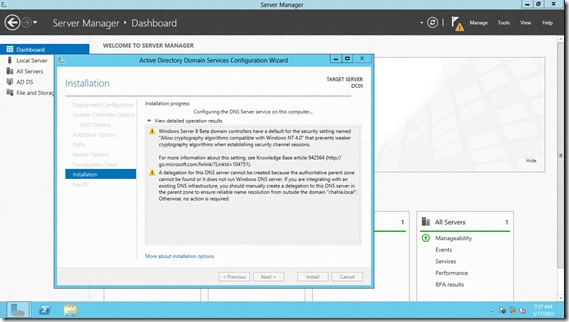
- Configuring the DNS Server service.
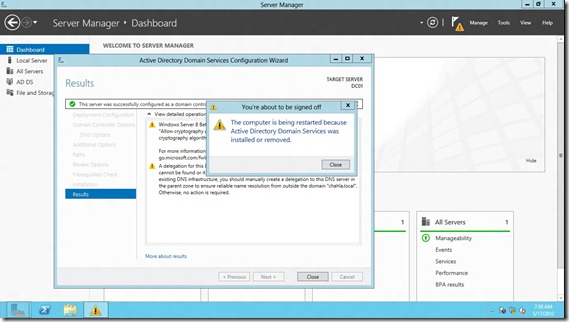
- And we are done, a restart is needed.
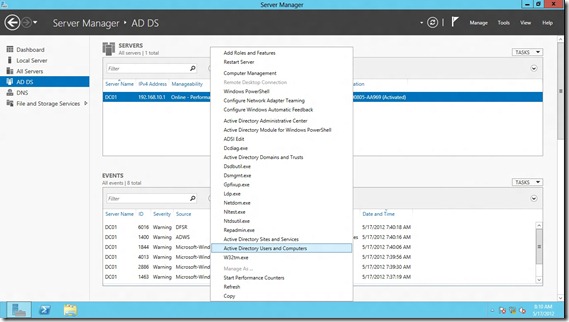
- After the system has restarted, click on the AD DS tab on the left side, then Right Click your server and selectActive Directory Users And Computers.
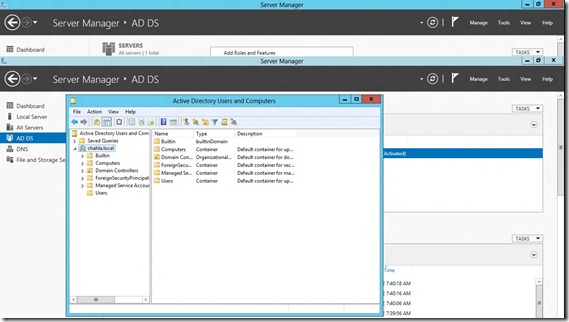
- Active Directory Users and Computers opens.
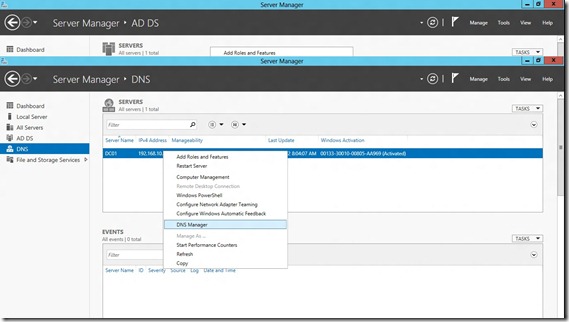
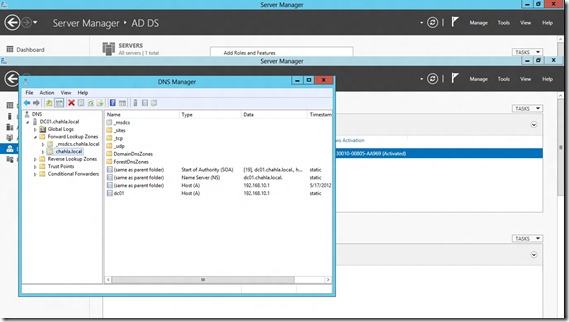
- Also as you can see the DNS service is installed.
- And a forward lookup zone has been created.
Hope you enjoyed  !!!
!!!
Regards,
Mohamad Chahla
No comments:
Post a Comment